
| 9. SPECTRUM_cloud 9.1 Log In/registration 9.1.1 Registration 9.1.2 Log In 9.1.3 Forgot password 9.2 Data management 9.2.1 Download/upload my files 9.2.2 Download manufacturer data 9.3 Service 9.3.1 PHOTOservice 9.3.2 PRINTservice 9.4 Other functions |
9.3 Service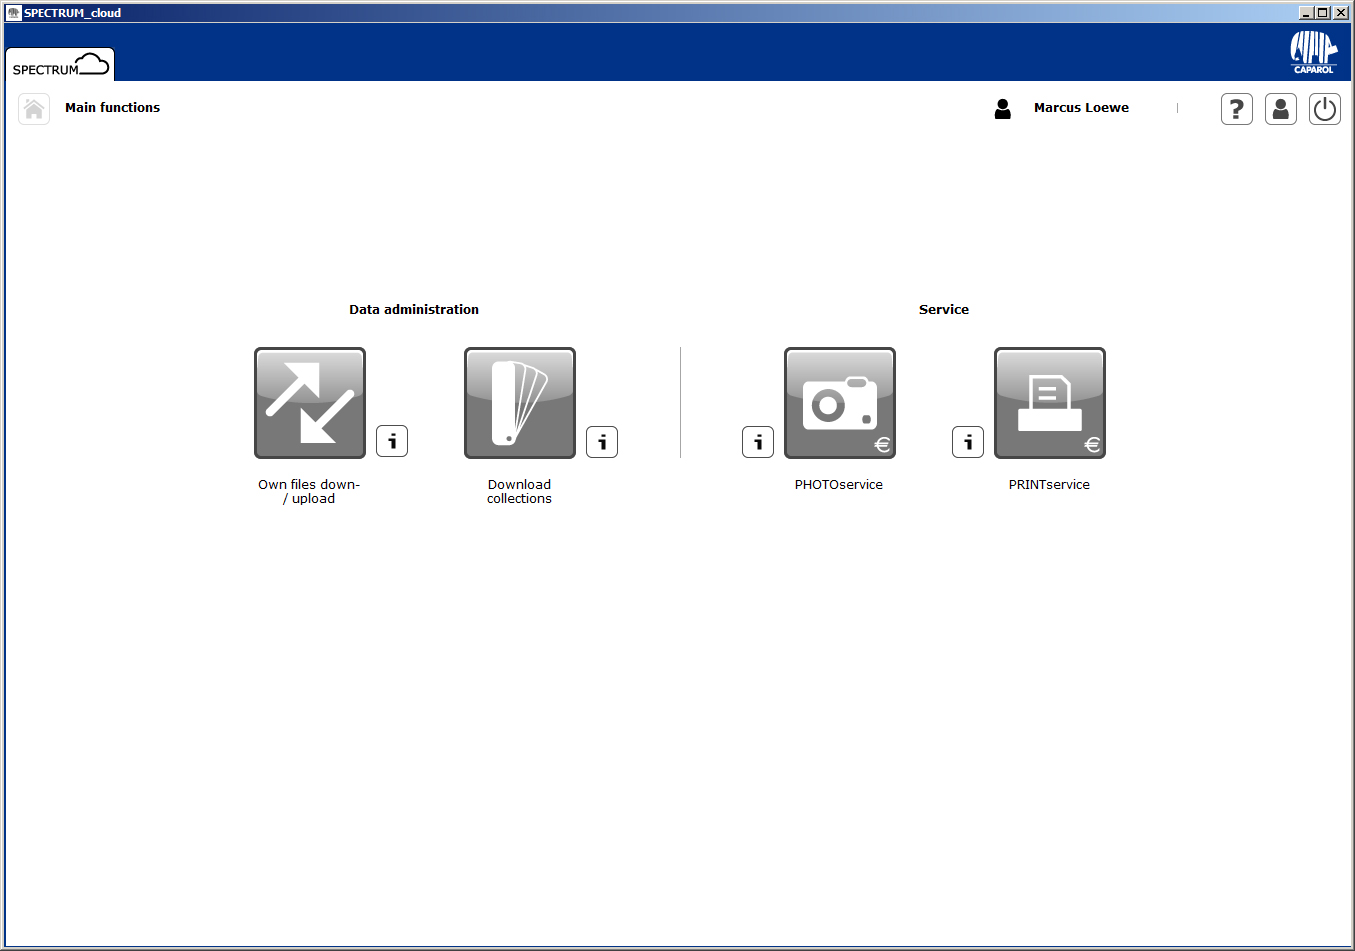 9.3.1 PHOTOservice  No time for your own image processing? The PHOTOserviceoffers the possibility of having your image data retouched and masked according to your specific requirements. Send a roughly marked photo to the PHOTOservice via the Internet. The prepared image data are ready for download within 2-3 working days. You can then start designing in the PHOTOstudio immediately. There is a charge for this service. Further information about prices and terms of payment is available in the "PHOTOservice" section at www.spectrum.eu. New order  First click the "New order" button. The "Marker Tool" of the PHOTOservice appears. You can now click the "New project" button to upload a photo from your PC or external storage medium to the Marker Tool. 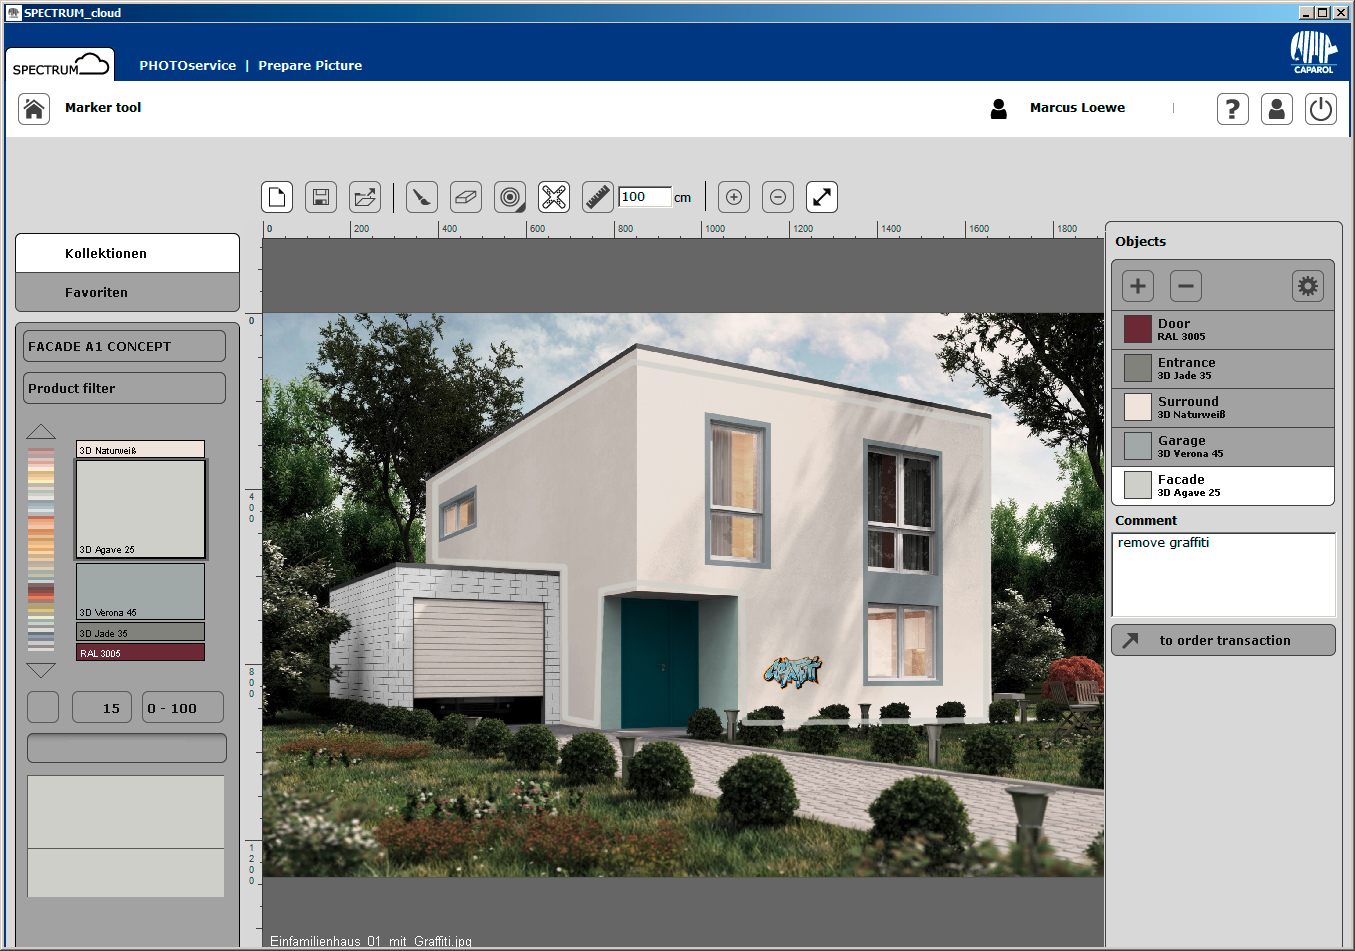 Marker Tool menu bar
Choose this button and a window will open where you can browse your PC or an external storage medium for an image. Then click "Open" to load the image into the marker tool. Save project Click the "Save" button to save a prepared image. A window appears showing the current memory location and name of the file on your computer. Open project Use "Open project" to open a previously saved project and edit it further. Brush You can use the brush to mark the required areas for an object. To do this, select the area in the object list first and then select "Brush" in the required point size (the size of the point can be changed under "Tool tip sizes"). Now roughly draw the outlines of the area to be masked in the image. You can also set corner points through clicks, then connect these automatically with straight lines by keeping the "Shift" key pressed. Mark the required area in the image for each object. Eraser This tool lets you correct errors in the object marking by erasing unneeded brush strokes. To do this, select the respective object in the "Objects" tab, click the "Eraser" tool and erase the brush strokes to be deleted, keeping the left mouse button pressed. Here, too, points set (clicks) are also connected by straight lines with the "Shift" key pressed. Tool point sizes There are four differently sized tool tip sizes available in sizes 8, 16, 32 and 64 pixels for use with the "Brush" and "Eraser" tools. You can select the respective point, shown as a circle, by clicking it. Marker for retouch The "Marker for retouch" tool allows you to mark "blemishes" in the picture that are to be removed by the PHOTOservice. To do so, select the "Retouch marker" tool and the required object. Then click the spot in the image that is to be retouched. A coloured "X" will appear at the spot. To help those processing the image, you can add a comment underneath the object list as well (see "Add comment"). Note: Retouch markers can be removed again using the "Eraser" tool. Proportion Since all the object masks required are prepared for design with colour and with materials, it is important to define a "proportion" once for the size of the object. To do this, select the "Proportion" tool. Click the image at the spot where the proportion is to be created, and choose the final position by clicking again. Then enter a figure in centimetres (cm) for the real length of the straight line just created in the number field. Note: The proportion only has to be entered once per image and is used accordingly for the material dimensions for all objects. It can be prepared in any object and is visible on all of them. Once a proportion has been created, it is automatically deleted when you create a new one using the proportion tool. Zoom in/Zoom out To increase or decrease the size of your image, use the mouse wheel on the work surface or click the corresponding "Magnifying glass" icon. Fit to screen This button lets you zoom the size of your image to fit the workspace.
Prepare PHOTOservice 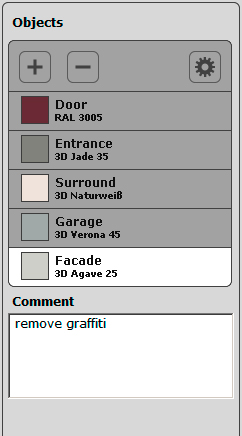 Create areas
After you have imported an image into the Marker Tool, first create the desired objects in the object list. An initial object named "Area 1" exists by default. To change the name, double-click the object text field. Alternatively, you can also right-click the object to change the name. You can add further objects by clicking the "New" button, and you can remove the object again by marking it and then clicking the "Delete" button. Each object is automatically assigned a mask colour when it is created. This enables the different objects to be distinguished from one another after marking. If you select a colour in the ColorPicker, the mask colour is replaced by this colour. This means that you receive the object, without further surcharges, immediately in a finished design. Of course, you can still change the colours later. You can create up to five objects. Mark objects in the image After you have created a new object, roughly mark the area (or more than one area) in the image. Comment In the "Comment" tab below the object list, you can enter helpful comments in the text field, such as information about the selected objects or requests for retouching - for example, "Surrounding - all" or "Railing: without hand rail" - which makes your editing requirements for the image clearer.
Order transaction Once you have highlighted all the desired areas of an image and specified a proportion, you can send it by clicking the "to order transaction" button. In this new window, you can enter your PHOTOservice ticket code and complete the order process with "Order now". 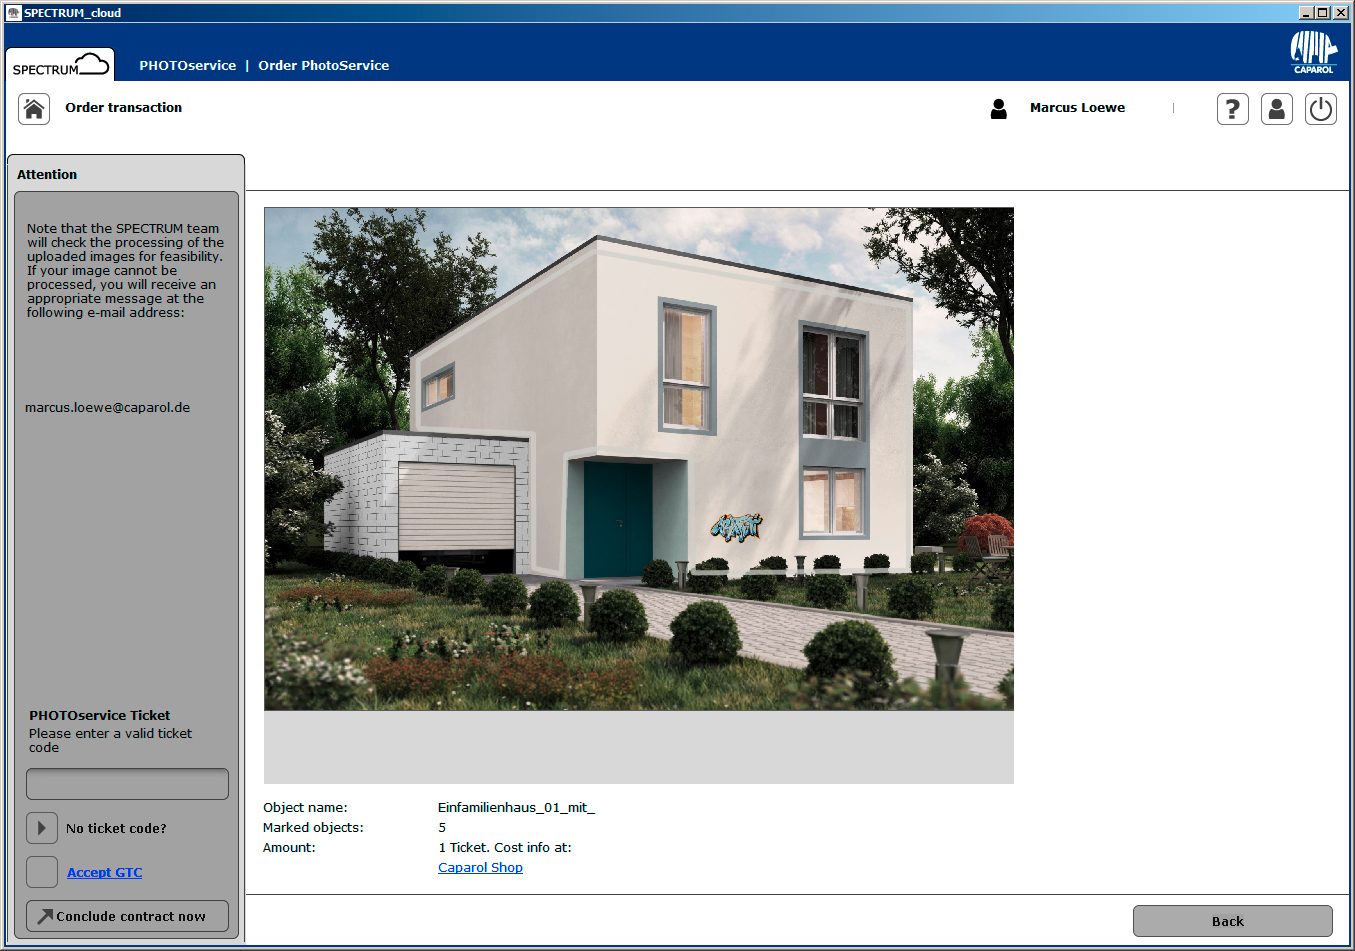 PHOTOservice Ticket
You pay for the PHOTOservice using so-called "PHOTOservice tickets". These six-digit codes begin with a "P" and can be purchased from the Caparol shop. Enter a valid PHOTOservice ticket code in the right-hand field for payment, or click the "No ticket code?" button to go to the Caparol shop to purchase a ticket. Purchase PHOTOservice Tickets If you do not have a valid ticket, you can purchase one from the Caparol shop. The corresponding link is available in the cloud (www.caparol-shop.de). PHOTOservice can be purchased individually or in discounted packages of five. When you order from the Caparol shop, you are sent an e-mail with the ordered number of codes automatically - you can then proceed with your PHOTOservice order immediately. You will receive the invoice by post within a few days. Note: Please note that each purchased ticket code may only be redeemed once. Price list and order at: https://www.caparol-shop.de/product_info.php/info/p197_SPECTRUM-5-PHOTO-em-service--em-.html/XTCsid/aa98165bdd2bbcef737b00fa29c94925 Send order Verify and correct your e-mail address if necessary, accept the general terms and conditions and click "Order now". Retrieve a picture  You receive an e-mail when the picture processing and masking are finished. Log into the SPECTRUM_cloud using your user name and password and under PHOTOservice click on the button "Retrieve picture". Choose your picture/job on the left side and click on the "Download" button. In the new window choose the desired folder and issue a name. You can open the picture directly in PHOTOstudio.
|