
| 4. EXPLORER 4.1 Menu bar in Explorer 4.1.1 Data view 4.1.2. Search 4.1.3. Help 4.1.4. Filters 4.1.5. Favourites 4.2 Projects tab 4.2.1 Samples EXTERIOR/INTERIOR 4.2.2 Own projects 4.2.3 Additional menu 4.3 Collections tab 4.3.1 Colour and material selection 4.3.2 Own collections 4.4 Filters 4.5 Favourites |
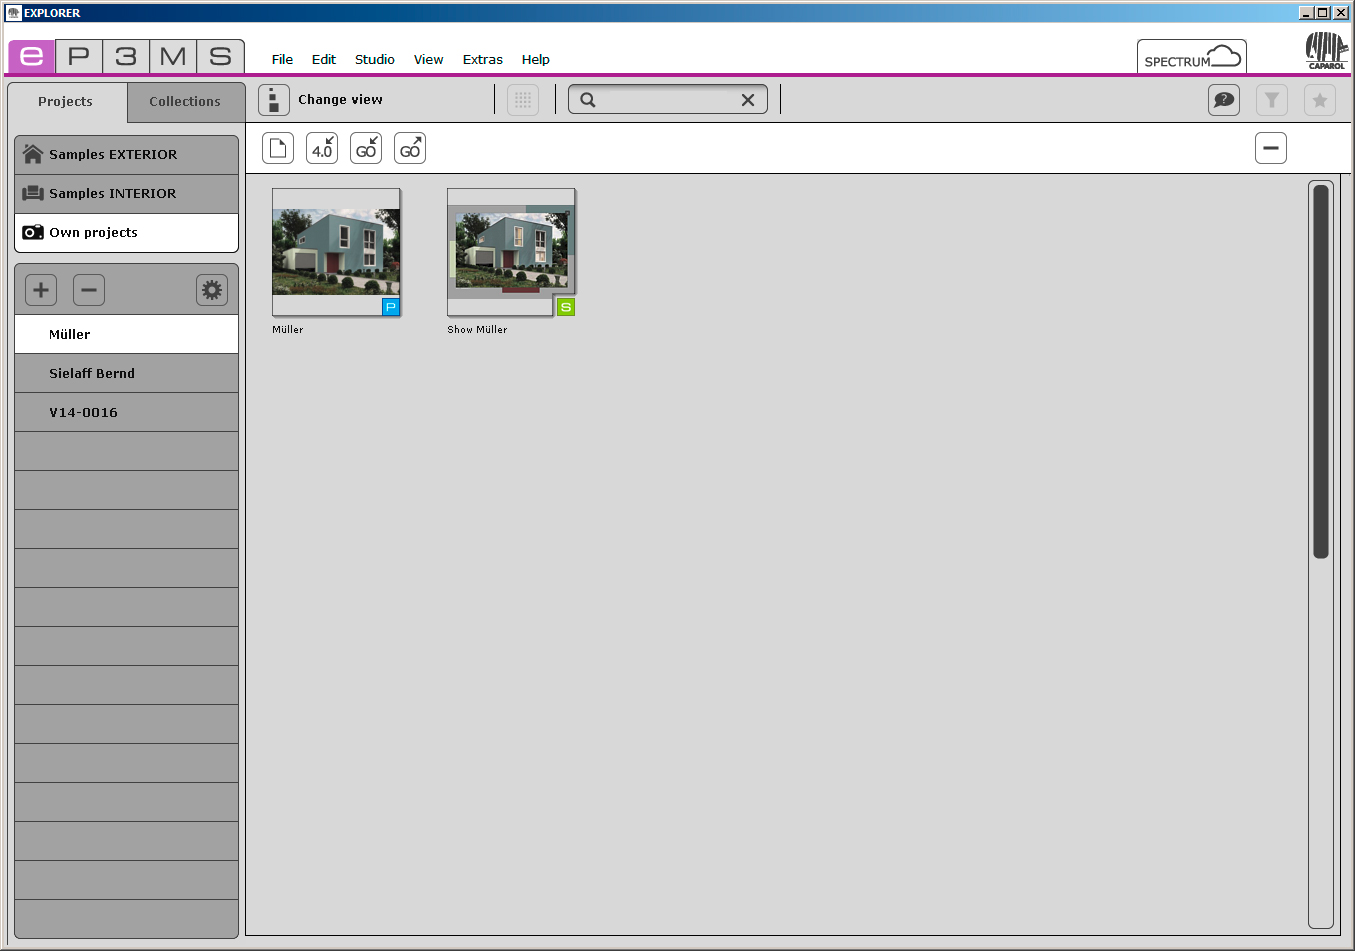
4.2.2 Own projects
When you create your own projects, SPECTRUM 5 gives you the possibility of saving image and show data in a self-created project folder, helping you to manage the data easily. The Own projects folder remains empty until the first new project has been created.
 Create new project
To create a new project, click the + symbol at the top of the list or select File > Create new project folder in the main navigation (shortcut command: Ctrl+N). The Customer data window opens, where you enter a project name and optional project details, such as name, contact data etc. Give the project a unique project name (such as Meyer Family). Then click OK. The newly created project folder will now appear in your Own projects list. Delete project To remove an existing project irrevocably from the list of your projects, first select the project by clicking the project name (it has been selected when the project name is highlighted in white and the contents are shown in the workspace). Then click the - button. To delete individual images or shows, click the image to select it and then click the - button (Delete project) in the white bar above it. You can also delete an individual project with the Del shortcut command. Note: Projects that have been deleted cannot be recovered. Edit project details To change project information, for example, in order to add a remark or address data, click a project folder and then click the Gear icon. The Project details window opens. Confirm your changes by clicking OK.
|