
| 5. PHOTOSTUDIO 5.1 Menüleiste 5.1.1 Open project 5.1.2 Save project 5.1.3 Print 5.1.4 Forward/Back 5.1.5 View buttons 5.1.6 Rocket mode 5.1.7 Help 5.1.8 Show/hide object list 5.2 "Object list" tab 5.2.1 Create/remove object list 5.2.2 Object properties 5.2.3 Brightness/contrast of objects/ColorChecker 5.3 "Prepare" tab 5.3.1 Tools: Area 5.3.2 Tools: Grid 5.3.3 Tools: Retouch 5.4 "Design" tab 5.4.1 Collections 5.4.2 Favourites 5.4.3 3D objects: CapaCoustic Melapor & NMC 5.4.4 Copy colours/materials into the object list 5.4.5 Multiview pictures |
5.4.3 3D objects: CapaCoustic Melapor & NMC
SPECTRUM 5 also lets you integrate NMC profiles - that is, cornices, rosettes and acoustics elements for interiors - in your image. They then appear as independent objects in the image and can be designed.
    Select profile
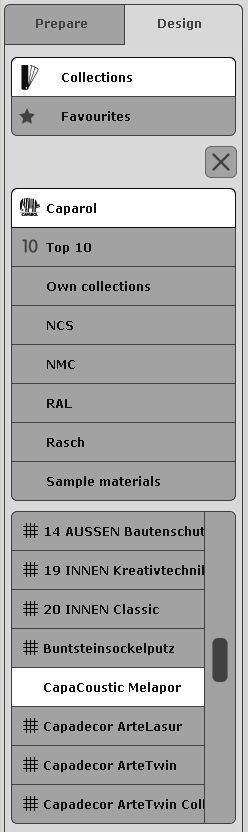
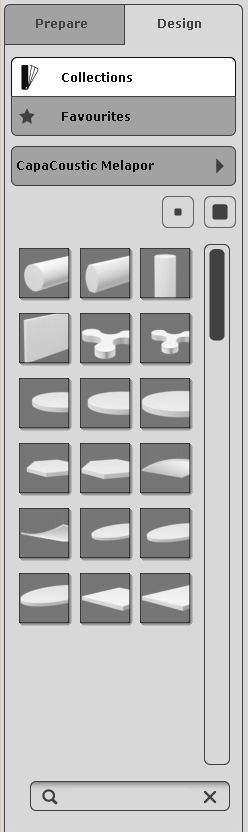
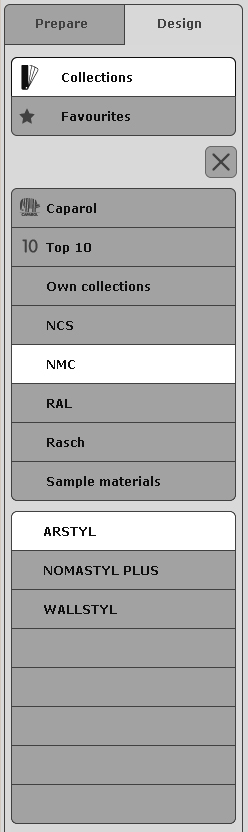
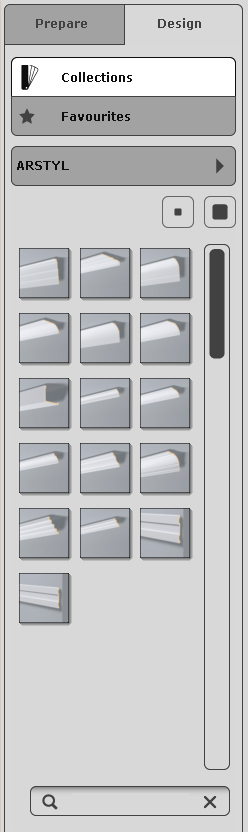
To include a profile or acoustics element, first open the "Design" tab in PHOTOstudio and select "Collections". From the list, click Caparol > CaparCoustic Melapor, or select "NMC" under Manufacturers and select the corresponding collection. You see a set of images of the acoustics elements/profiles contained therein, which you can display in two different view sizes. You can choose between "Show small preview images" and "Show large preview images" to display the profile images. The small view is the default setting. In the larger view, you can also see the names of the surfaces and the product details. Double-click the profile image to select a profile. Show product details To display information about the name and other details of an acoustics element/profile, along with a larger display, select a favourite card and click the "i" button. (See chapter 4.3.1, "Colour and material selection") Placing When you place an acoustics element/profile in the image, a preview window opens with the object initially in the centre of the image. You now have the following options: 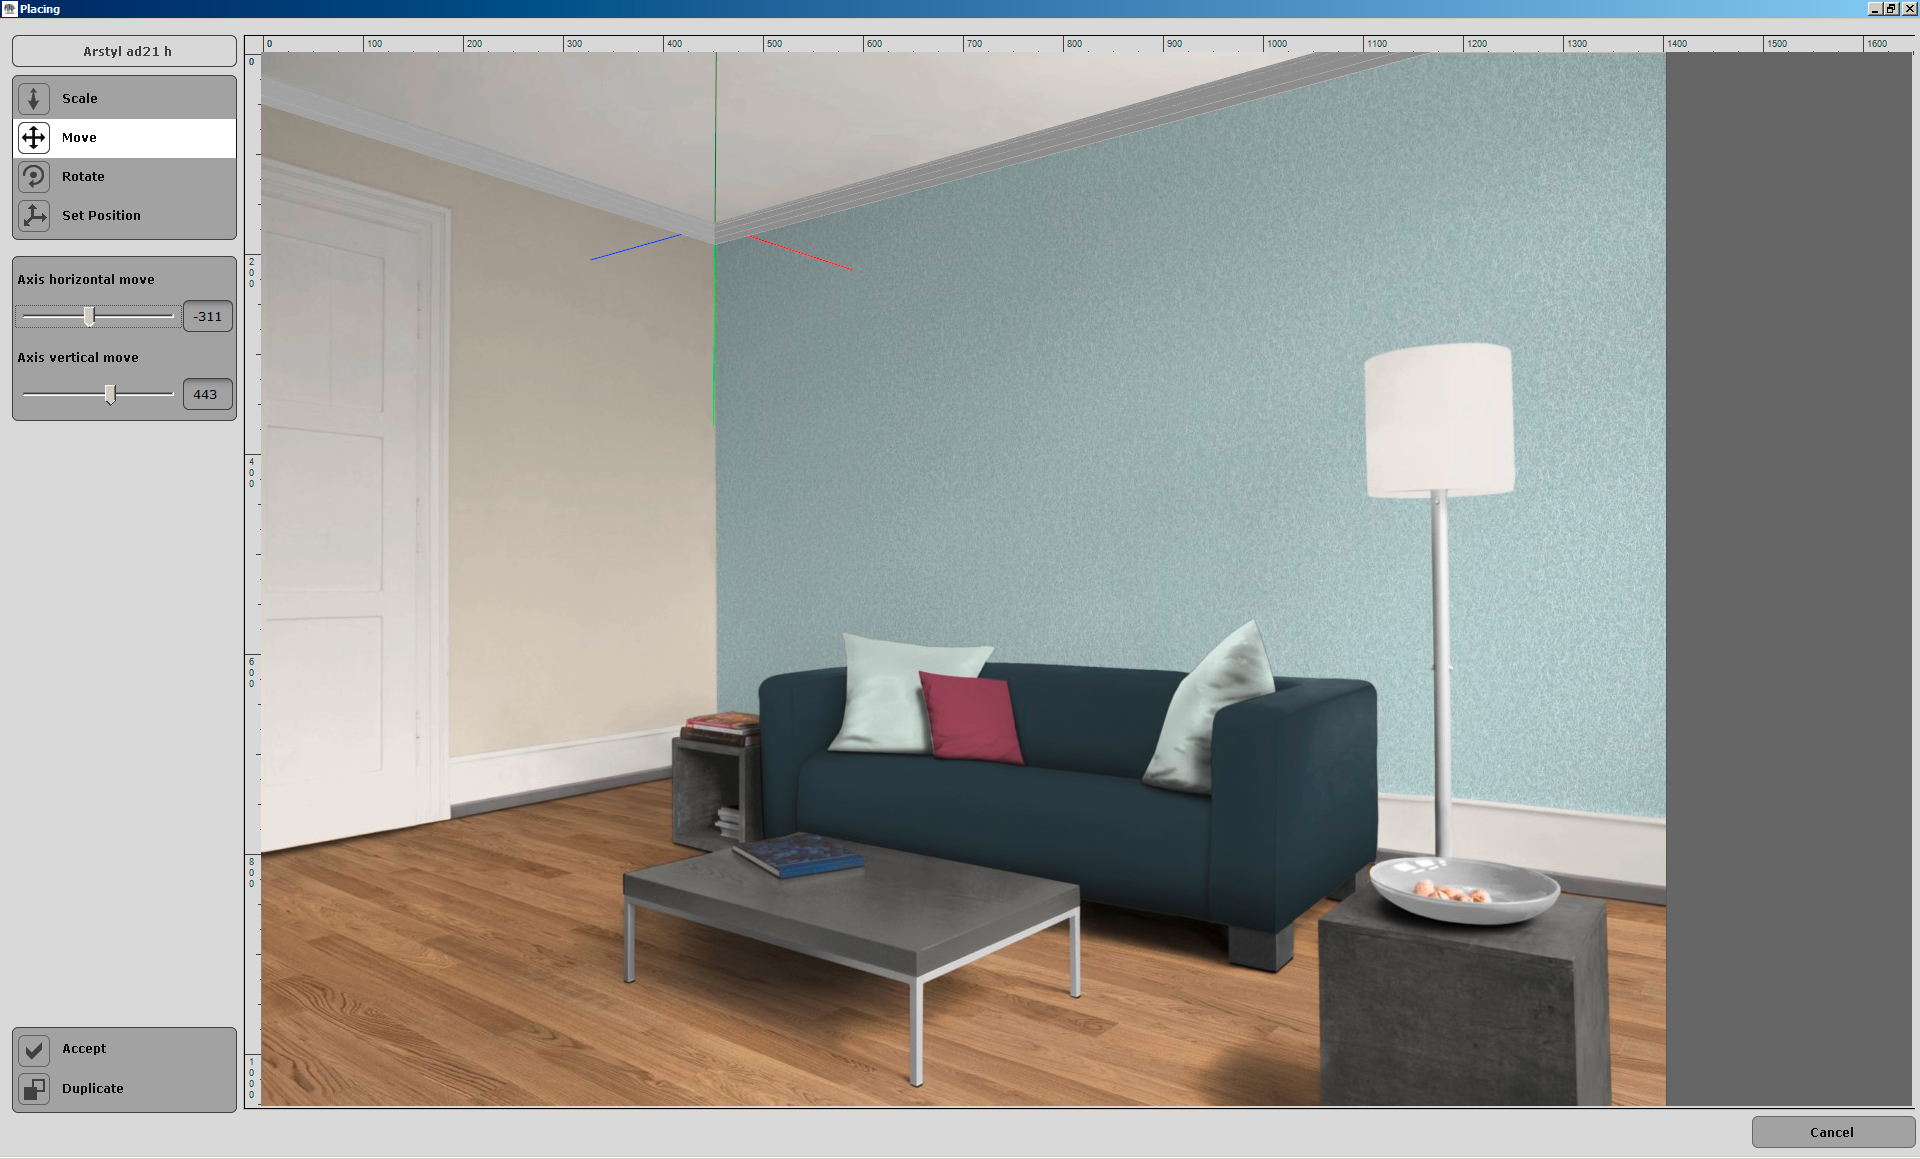 Scale
Scale"Scaling" of the acoustics element/profile lets you adjust it to the size dimensions of your image. To do so, use the "Scale" icon. Then drag the "Scale axes" trackbar to the right to shrink the acoustics element/profile or to the left to expand it. Move Select the "Move" button to move the acoustics element or profile to then correct position in the image - the corner of the room. Use the "Move object hor." trackbar to move the acoustics element/profile from left to right in the room. Use the "Move object vert." trackbar to move the acoustics element/profile upward or downward in the image. The blue and red profile axes, along with the vertical green centre axis, help your orientation. Rotate To turn the profile to the correct position between the two adjacent walls within the image, choose "Rotate". Use the "Rotate axes hor." trackbar to swing the acoustics element/profile from left to right and "Rotate axes vert." to tip it up or down. Set Position Lastly, use the "Set Position" trackbar to move the individual acoustics elements/profile axes to the correct position. Use "Position axes hor." to move the right side of the profile and "Position axes vert." to move the left side of the profile. Accept To use the settings for the acoustics element/profile, click "Accept". The acoustics element/profile is placed in the image and the "Placing" window closes. A new object for a colour assignment is created automatically in the object list. Duplicate You can use the "Duplicate" button to place another acoustics element/profile with the same settings directly in the image - the edit window remains open to allow you to position the duplicated acoustics element/profile again. Note: If you want to delete an acoustics element/profile, first go to the "Prepare" tab. Select "Retouch" and then click the "Reset" button. You can then use the "-" button to delete the object from the object list. Note that if you have performed other retouching work, that work is also deleted.
|